Zenith Trans-Oceanic
Model Royal 7000 (Transistor)
1969 - 1978
1970 Zenith Trans-Oceanic Royal 7000
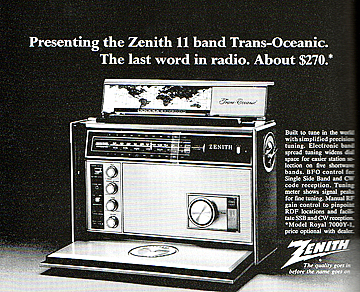
 Zenith introduced the Royal 7000 solid state Trans-Oceanics in mid-1969 to replace the aging 1000 and 3000 radios that had been around since 1958. Some collectors consider the Royal 7000 series to be the last of the true Trans-Oceanics as the final model run, the completely different R7000 series, dropped the electronic bandspread tuning for continuous coverage of the shortwave frequencies. The Royal 7000 radios were also the last of the hand-wired radios as the R7000 radios used printed circuit boards, and the final model, the R7000-2, was assembled in Taiwan.
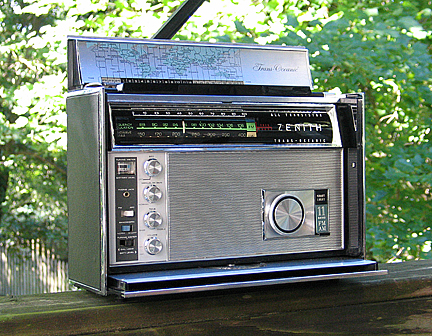
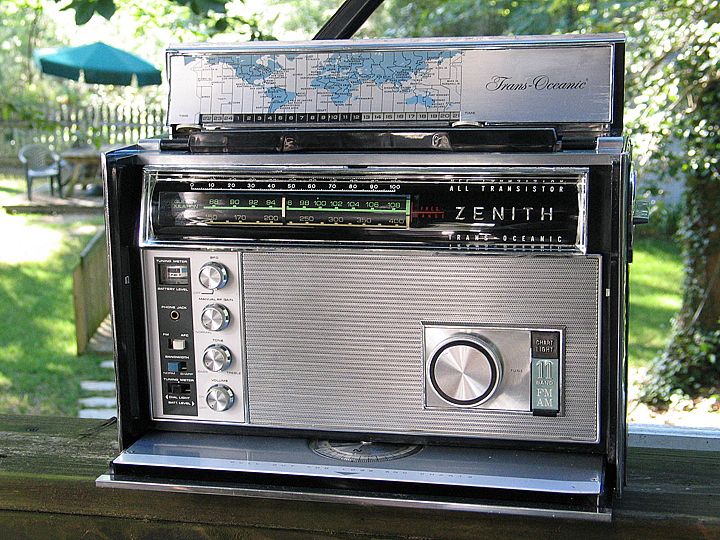
The radio shown here is a 1969 or 1970 Royal 7000Y, the first of three models in the series. It has chassis 18ZT40Z3. It is a much more modern looking radio than the 1000 or 3000 solid state Trans-Oceanics. And while the chrome and leather-look of the 1000 and 3000 radios projects a classic elegance reminiscent of the high-end cameras of the era, the 7000 is quite an attractive radio as well.
The 7000Y was followed by the Royal 7000Y-1 in 1971, which uses chassis 18ZT40Z, and in 1972 by the Royal D7000Y, with chassis 500MD70. Although the circuits are very similar, different transistors are used in the various chassis, but the primary difference is in the VHF weather channel. The Royal 7000Y only offered 162.55mHz coverage. The Royal 7000Y-1 had a provision to change the crystal controlled VHF frequency, and the Royal D7000Y had continuous tuning of the weather band. The D7000Y is the more popular model due to the tunable weather band, and the inside of the front lid, with the compass, was changed from grey to black, a more attractive combination.
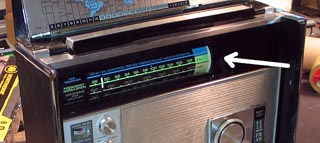 I purchased this radio on eBay. It was missing the dial cover, and I figured it would go very cheap because of that. I won the radio, and when it arrived, I found that only the FM and VHF (weather band) worked. The AM section was dead. No broadcast band or shortwave reception at all. Audio quality, though, on FM was excellent.
I removed the chassis from the cabinet, and noticed right off that the transistor that serves as a voltage regulator was mashed flat and two of the pins were in contact with each other. 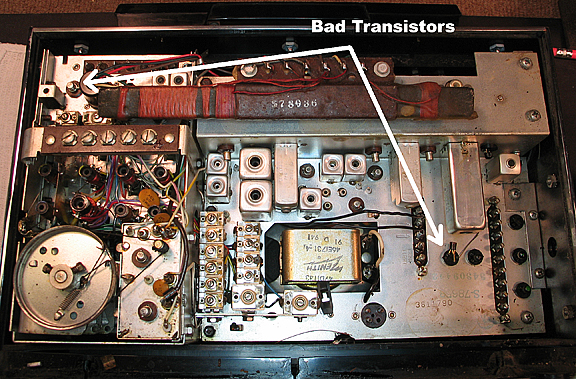 I straightened the legs and re-inserted the transistor in its socket. I cleaned all the other transistor pins and sockets, and hoped that might restore AM and SW reception, but no luck. So I removed and tested the AM RF transistor, the AM mixer transistor, and the AM oscillator transistor. The AM RF transistor tested bad. I replaced it with an NTE 107, and the voltage regulator transistor was also shorted out, so I replaced it as well. Now broadcast and shortwave bands worked. I didn't have the right capacitors on hand to replace them, and the radio plays well as is, so I will wait for a while before replacing the caps.

Next, I turned my attention to cleaning the radio. It was so dirty and grimy, I didn't see any way to adequately clean the radio other than completely disassembling it, which turned out to be fairly easy and straightforward. Much easier, in fact, than the 3000 described elsewhere on this website. I washed it well in liquid dish detergent, and used Novis plastic cleaner as well. Even then, it was impossible to get it as clean as I would have liked. I also found that the radio is much more scuffed and scratched than it appeared to be from the eBay photographs.
 When I got everything reassembled, my next challenge was the missing dial cover. The chances of one turning up any time soon is pretty remote as the 7000 series radios seldom show up parted out or even as parts radios. When I bought my 3000 Trans-Oceanic a few years ago, it was badly damaged in shipping. Some lugs on the dial cover were broken, so I picked up another one on eBay. I decided to see if I could modify the damaged 3000 dial cover and use it on the 7000. The 3000 dial cover is a little taller than the 7000 dial cover, and a little shorter, but I felt it would work until I found an exact replacement. I had to remove the remaining mounting studs from the back of the 3000 dial cover, and used a Dremel tool to remove about 1/4 inch from the top of the dial cover so it would fit the 7000. I then used double sided tape to hold the cover in place on the 7000. It is a little short, but doesn't look half bad.