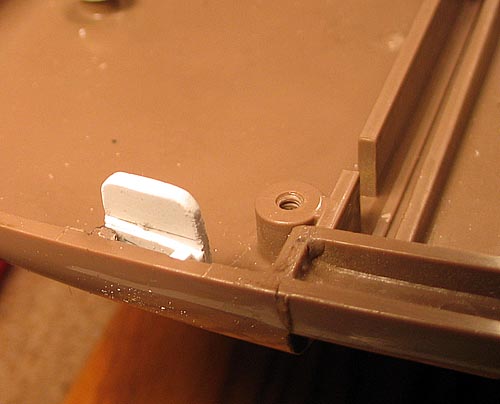
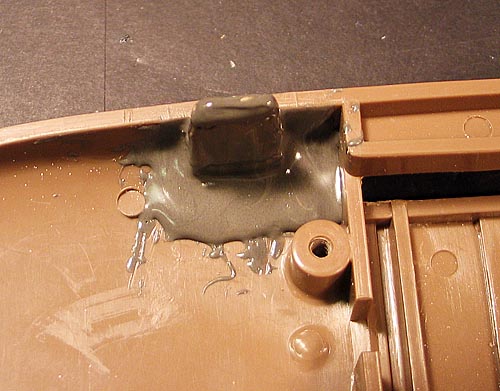
 The tabs that hold the rear door in place were broken, so I had to make new ones from styrene plastic. I glued each in place with CA glue, then applied plenty of JB Weld to provide strength. They work pretty good.
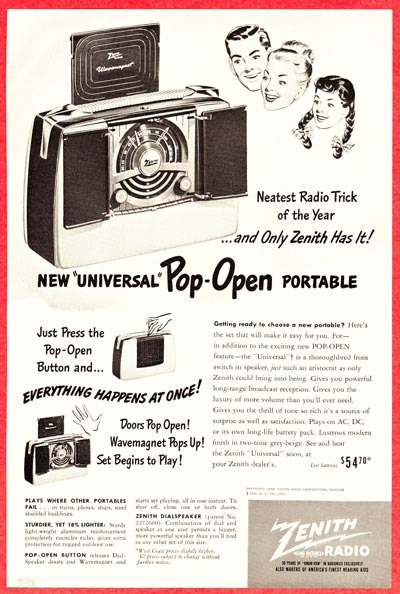
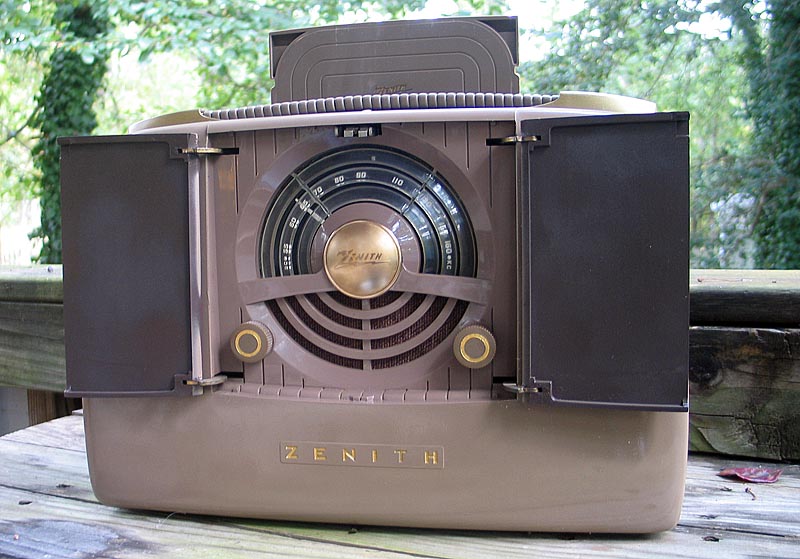 The ingenious "Pop-Open" Zenith 6G801 Universal was the companion radio for the G500 Trans-Oceanic until it was replaced by the Zenith G503 Universal "Tip-Top" radio, with flip-up dial, in the spring of 1950. The pop-open doors of the 6G801 and the flip-up dial of the G503 both were designed to automatically shut off the radio so that the batteries wouldn't run down, a problem with earlier designs that relied on the user to remember to turn off the radio.
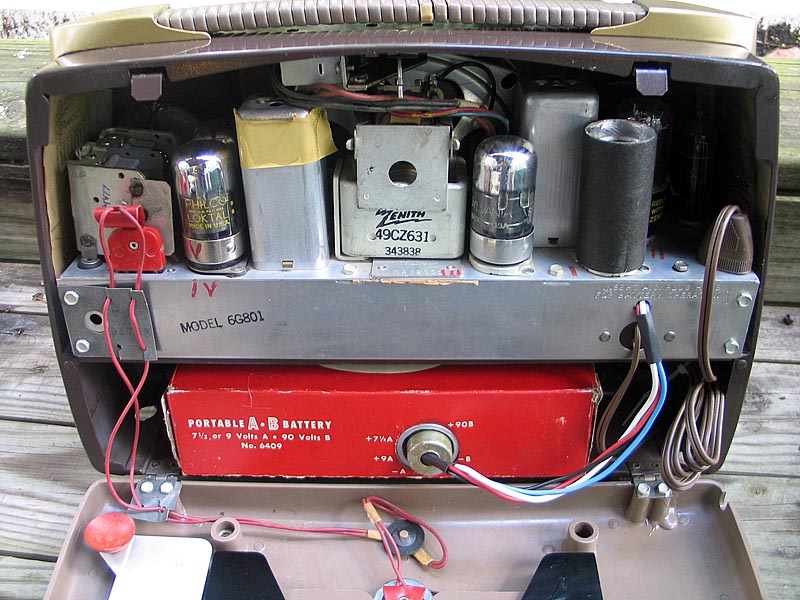
The 6G801 used a 9volt/90volt battery, but the Z-985 AB battery used in the Trans-Oceanics can't be used in the smaller 6G801. To power the radio, I used an old Sears Silvertone battery box and installed a male connector. The box is large enough to hold six C cells in a 3X2 holder, and ten 9volt cells in series.
Restoration of the chassis was straightforward. All the capacitors were replaced and all out-of-tolerance resistors replaced. The battery connector wires were crumbling and the connector was missing, so I installed a new battery connector with new wiring. The AC line cord was also replaced.
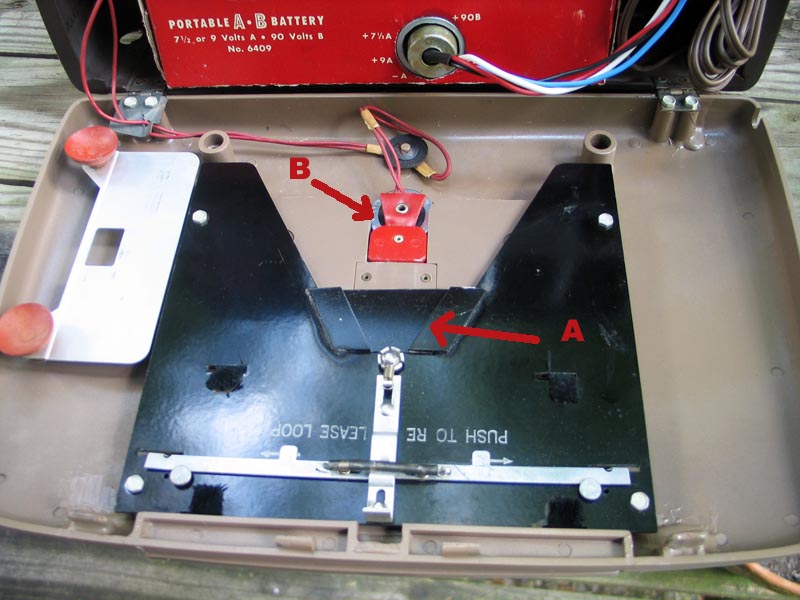
A friend gave me this radio as it was a little more than he wanted to take on at the time. The doors popped open OK, but the Wavemagnet did not pop up as it should. Disassembly of the mechanism on the rear door showed a damaged spring that provides the tension to raise the Wavemagnet. The spring was bent, and even though I tried to straighten it, it wouldn't stay aligned. I got it to where the spring would raise the Wavemagnet, but it would jump from its track and the Wavemagnet couldn't be pushed back into the rear cover. I solved the problem by installing a large washer over the spring fulcrum and a plastic filler in the antenna cover to keep the spring from jumping out, as shown by arrows A and B in the photo below left. After that, it was just a matter of adjusting the mechanism to get the doors and Wavemagnet to pop up smoothly when the button was depressed.
 The tabs that hold the rear door in place were broken, so I had to make new ones from styrene plastic. I glued each in place with CA glue, then applied plenty of JB Weld to provide strength. They work pretty good.
There were also a couple cracks in the cabinet that needed repair. These were fixed with CA glue and then JB Weld from behind to strengthen the joint. The last step was to repaint the cabinet. It took some doing to find colors that were close to the originals. Although Zenith described the colors as "grey and beige" in their ads, the colors are more like a dark brown and tan, but with a purplish cast. I did find a very close match for the dark brown, but the lighter tan I could not match exactly. I left the dial and speaker area behind the doors original, so the difference in the colors can be seen in the picture of the radio at the top.
The brass escutheons holding the coiled plastic handle in place were corroded and pitted. I removed the old lacquer and oxidation. I filled the rust pits with spot putty and sanded them smooth. I painted them with aged brass paint and gave them a coat of new lacquer. The coiled plastic handle was broken in the middle. I reglued it and applied some tape to the back side, then flipped the handle over so that the better preserved bottom was now on top, see photo, left.
The brass Zenith logo on the front was cleaned of old lacquer, then buffed and new lacquer applied. I cleaned fifty years of oily finger residue from the knobs and applied new gold accents. I also restored the gold "Zenith" lettering on the front of the radio.
Like most Zenith's of the era, the radio is well-built, although the pop-open doors and pop-up antenna are potentially weak points that can get out of whack fast. The radio picks up all the local AM stations nice and clear, with good volume. The audio quality is very good, on par with the Trans-Oceanics.
Return to Trans-Oceanic Gallery